1. Sign Up
If you want to have access to the tools offered by our website you must register. Your are done with the registration very quick by filling the required fields.
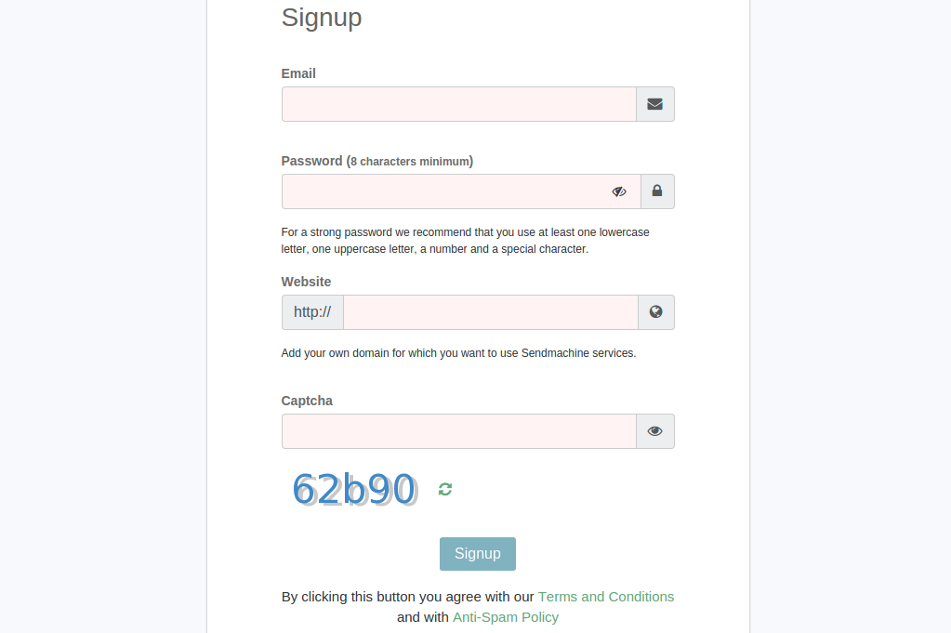
You will receive an email in which you will be asked to confirm your account, after that you can use it.
2. Create contact list
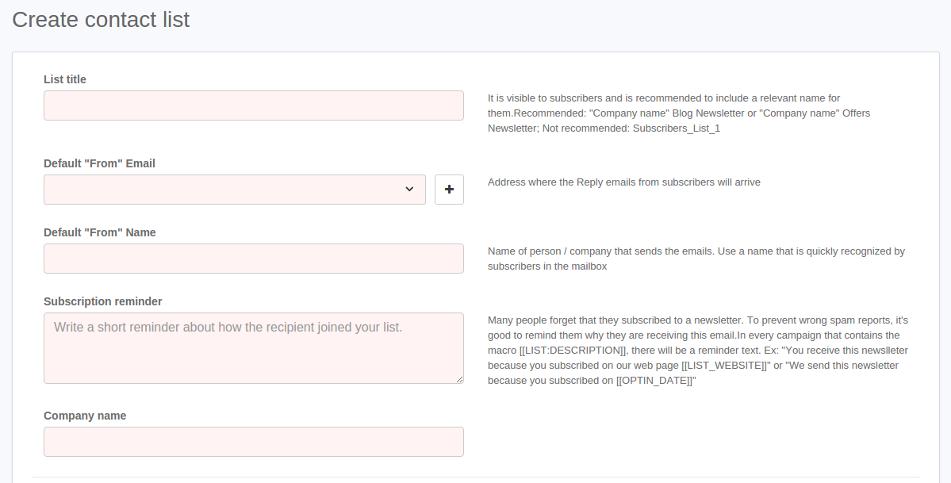
From the upside bar of the control panel select "Contacts" then click "+Create contact list" button.

Then you have to fill the information about the list, such as name of the list, from email, company name and other important info, useful in campaigns.
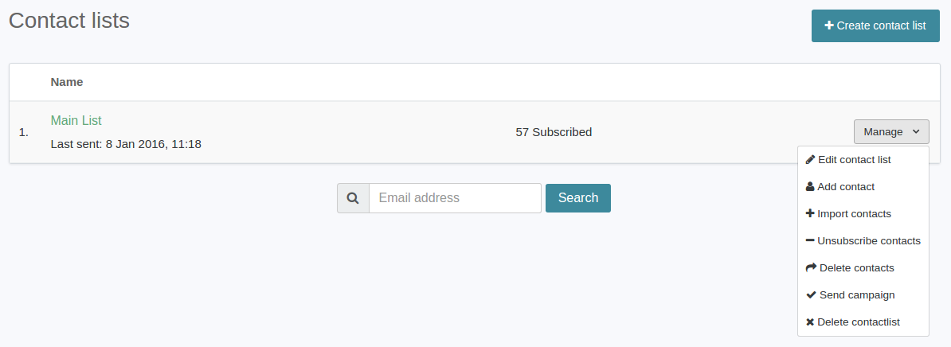
After you created the list, you'll find it in "Contacts". Click on "Manage" button, then select "+Import contacts" to add email addresses in list.
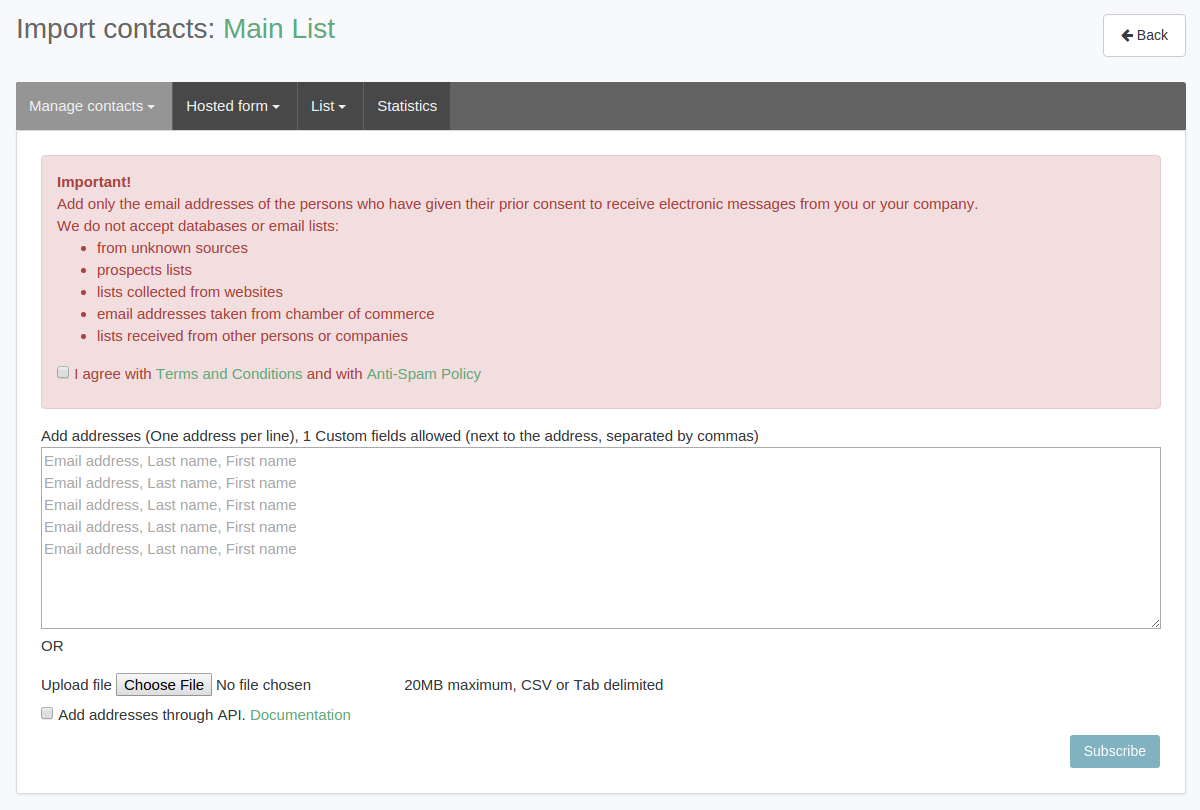
Email addresses can be added manually, one above the other, (e.g., example@example.com, name) or you can use the automatic option, by uploading a CSV file, from which we retrieve data, also importing the addresses through API.
3. Add sending addresses
To accomplish this step, in the upper right corner, you can find a profile menu from which select ”My account”.

From the profile navigation bar select ”Sender emails”, then click ”+ Add sender email”.

Without this step you can't start an email campaign. The sending address is found in any email received in ”From” field. To avoid spam we do not accept free email addresses from Yahoo, Gmail, Hotmail, Outlook, Live or temporary addresses. The addresses must be from the owners websites or professional email service that can be provided.
4. Create campaign
You can start creating the campaign from the ”Control Panel”, where you can find in the right side, the ”+Create campaign” button. Same thing you can do from the upside bar of the control panel, where you select ”Campaigns”, afther that you'll have the same button in the right side.

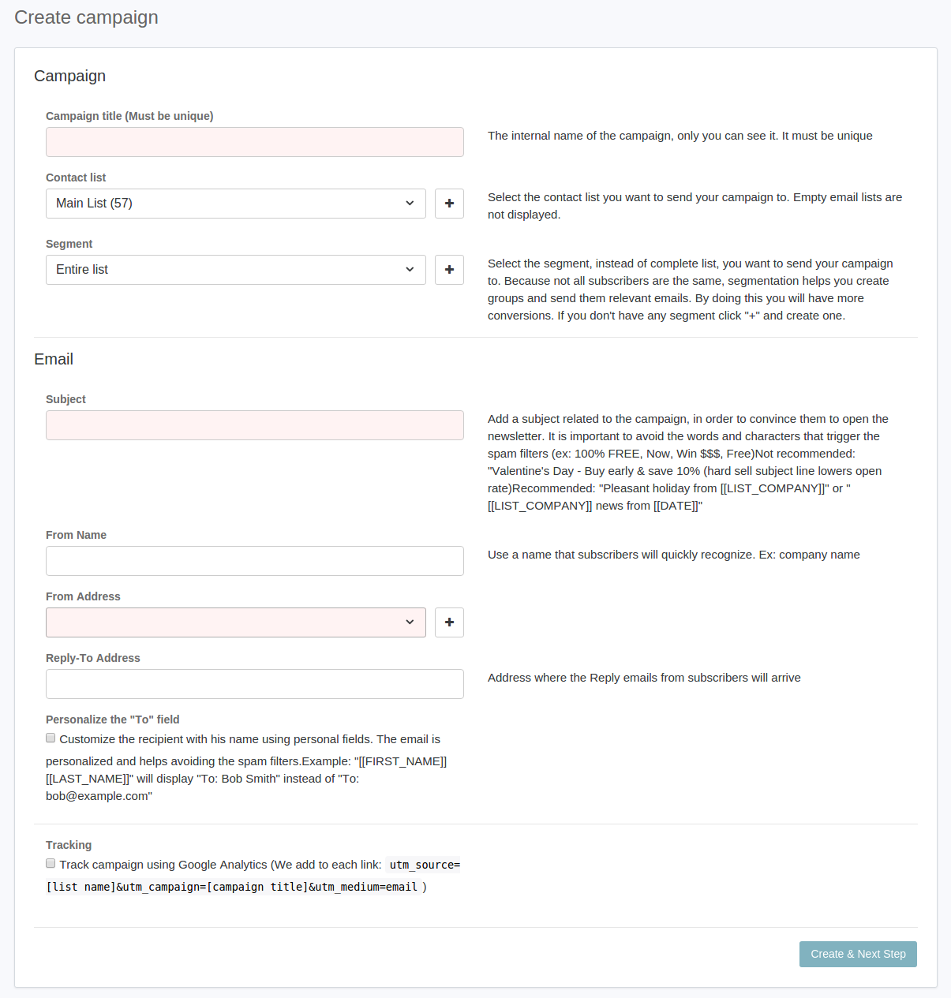
Add the campaign's details (title, subject, from name etc.) and select the contact list (you have the option to choose entire list or a segment, if the segmentation has been made).
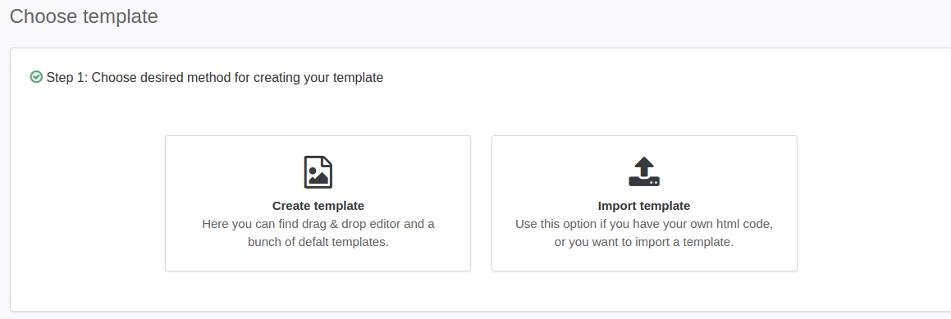
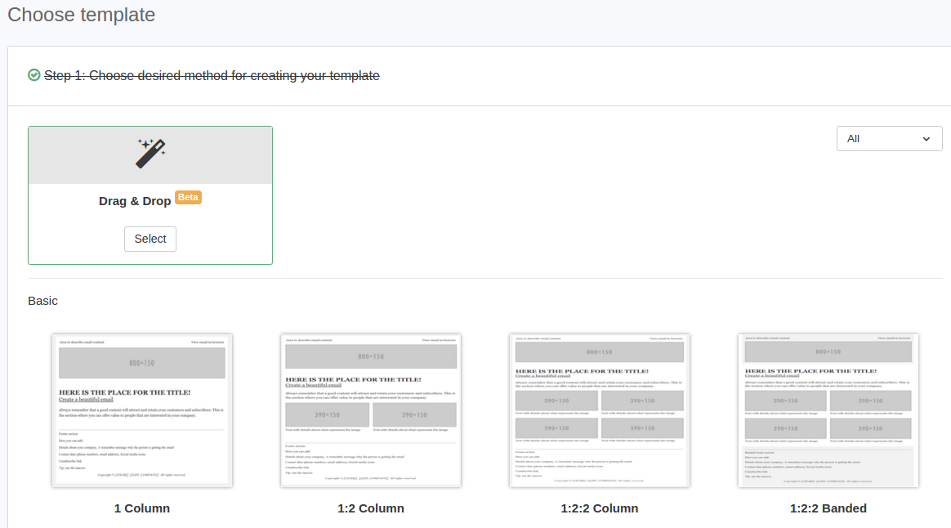
Create templates using the Drag & Drop editor, HTML source editor or choose one of the default templates made by us.

5. Tracking statistics
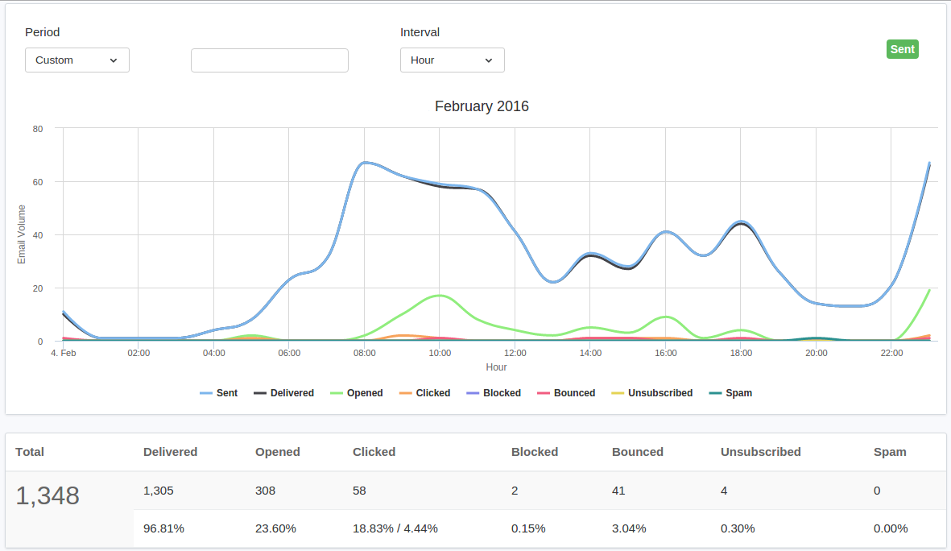
In statistics you can track the campaigns evolution, how many emails were sent, the number of emails waiting to be sent, sent, opened and how many clicks were made if you added links in email. Improve email marketing campaigns based on daily detailed statistics.
6. Transactional
You can start sending transactional emails after you add a sender email. You can add the address by accessing the profile menu in the upper right corner, where you select ”My account”. From the profile navigation bar select ”Sender emails”, then click ”+ Add sender email”.


Without this step you can't start sending transactional emails. To avoid spam we do not accept free email addresses from Yahoo, Gmail, Hotmail, Outlook, Live or temporary addresses. The addresses must be from the owners websites or professional email service that can be provided.
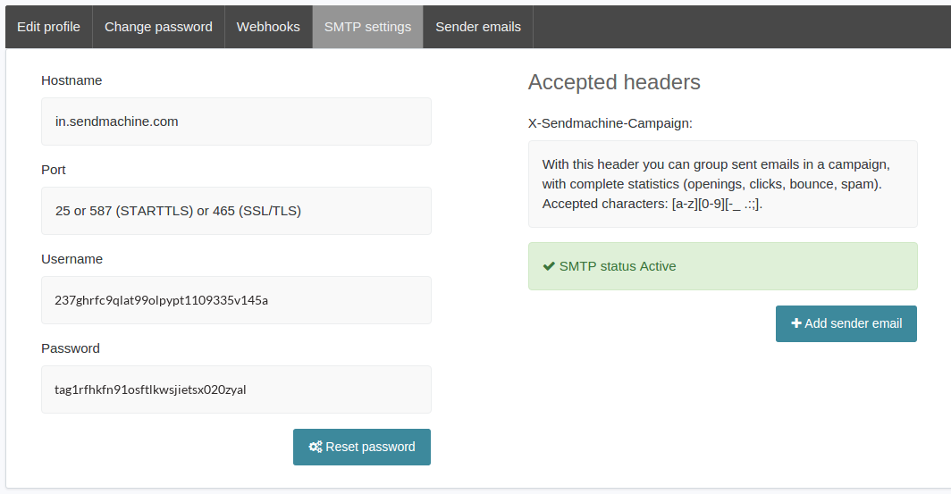
With SMTP settings you can send emails using your own application or you can integrate Sendmachine in different platforms.


